Preserving Wet Specimens: A Beginner's Guide to Formalin Fixation and Long-Term Storage
🐙 How to Preserve Wet Specimens (with Formalin) A beginner-friendly guide for preserving
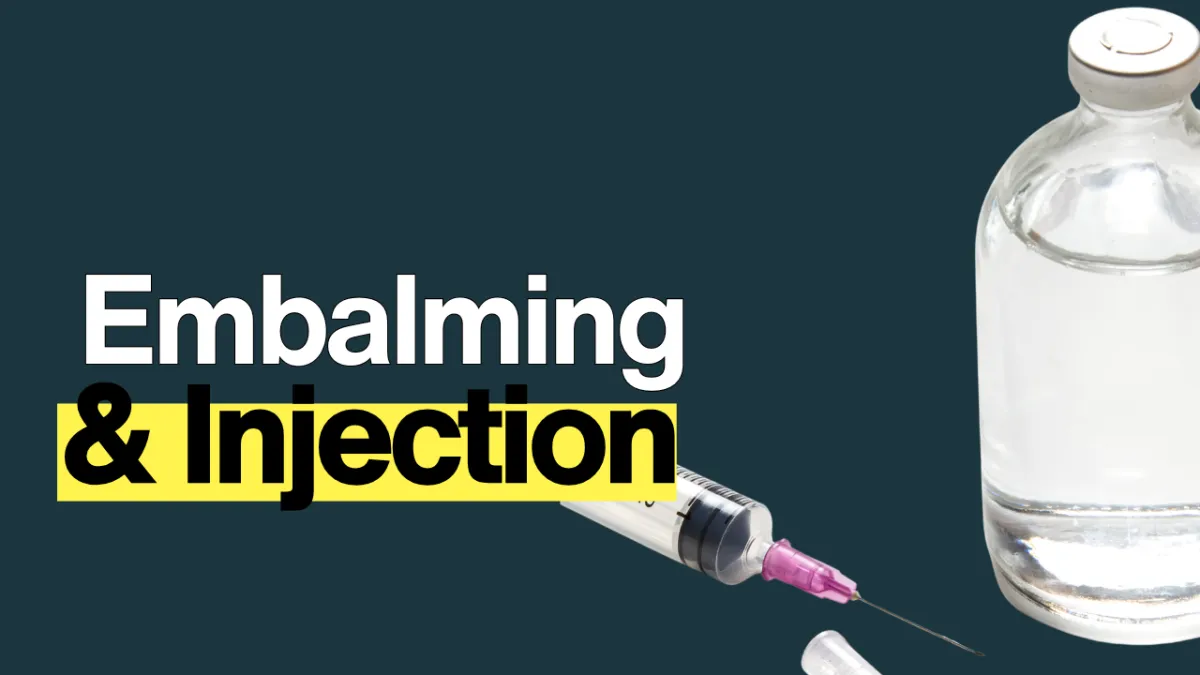
Ever wondered how wet specimens are preserved? I'm injecting formaldehyde into an octopus to begin the fixation process. This is the first critical step in long-term preservation, locking in detail and preventing decay.
⚠️ Safety First!
Before we start, you need to stay safe. Some of these materials are dangerous if you’re not careful.
✅ Always:
Wear gloves, goggles, and an apron
Work in a well-ventilated area or outdoors
Keep all chemicals and tools away from pets and kids
Label your jars and containers clearly!
🧰 What You’ll Need:
Specimen The animal you’re preserving (like a frog, fish, or octopus)
10% Formalin This stops the body from rotting
Syringe with Needle To inject formalin into the body
70% Isopropyl Alcohol or Ethanol Used for long-term storage
Glass Jar with Lid Final container for the specimen
Apron, Gloves, Goggles For safety
Measuring Tools & Funnel For handling liquids easily
🧪 Step 1: Stick It to 'Em - Embalming Your Specimen
Wait—embalming? Yep. Just like a funeral director, we're preserving from the inside out. Injecting formalin is essential for larger or more solid specimens like frogs, snakes, and octopuses—it prevents internal decay and locks in anatomical detail.
Fill your syringe and inject the formalin into the softest areas:
Belly or body cavity (center of the torso)
Base of limbs or neck (if applicable)
Head or behind the eyes for brain preservation
For octopuses: inject into the mantle and arms
Use multiple small injections instead of one big one to avoid bloating or ruptures.
After injecting, gently press the specimen into shape and place it in a container of formalin to soak.
🧂 Step 2: Spa Day in Formalin - The Soaking Stage
Even after injecting, the outside of the specimen still needs to be preserved. Muscles, skin, and organs close to the surface can rot, discolor, or grow mold without this step. Soaking ensures the entire specimen — inside and out — is safely "fixed" (that’s the scientific word for preserved).
🚿 Step 3: Cleanse - Rinse & Repeat
Take the specimen out and rinse under cool running water. Then soak it in cool water for 24–48 hours to remove extra formalin. Remember to use tongs or gloves during this step.
Change the water a couple of times. This reduces smell and chemical residue.
🫙 Step 4: Jarred and Dangerous - The Final Display
Use 70% isopropyl alcohol. It's strong enough to prevent decay but gentle enough to avoid drying out the tissue.
Submerge Completely: Place your specimen in a clean glass jar and pour the alcohol in until the specimen is fully submerged. Make sure there are no exposed parts above the liquid.
Seal the Jar: Use a tight-fitting lid to prevent evaporation. If possible, use a jar with a rubber gasket or sealing ring for long-term storage.
🌟 Optional Display Tips:
Add clean sand, shells, moss, or fake plants for a display look.
Position the specimen carefully — sometimes a toothpick or pin helps until it sets in place.
🛠 Maintenance:
Alcohol may evaporate slowly over time — check your jar every few months and top off the liquid if needed.
Keep out of direct sunlight to prevent fading.
💬 Common Questions
Q: Why inject formalin instead of just soaking?
A: Soaking works for small specimens, but larger ones may rot from the inside if the fluid can’t reach deep tissues. Injection fixes that.
Q: Can I reuse jars or containers?
A: You can, but they must be glass, cleaned very well, and only used for specimens — never food!
Q: Does it smell?
A: Yes. Formalin smells strong. Work outside or near an open window. Once in alcohol, the smell fades.
